How To Install and Use 7Zip on Ubuntu
If you’ve ever tried to send large files then you would definitely know about 7Zip. From almost 2 decades now, 7Zip allowed us to get a higher compression ratio. Apart from getting high compression ratio, you can get support for extracting and compressing RAR files on Ubuntu with 7Zip. Apart from the GUI, you have used in Windows computers, 7Zip is also available to use with CLI with p7zip command. There are two other packages which you can install according to your requirement. You can use the p7zip-rar if you have to deal with the RAR files. In this tutorial, we will demonstrate to you how you can install and use 7Zip on Ubuntu 18.04. We will also provide a small tutorial of using 7z on Ubuntu directly from CLI.
How to Install p7zip on Ubuntu with CLI?
7Zip is available as a package named as p7zip in the Ubuntu repository. It can be installed with apt or any other package manager on other Linux-based systems too. First of all, let’s update our Ubuntu system.
sudo apt update
[/dm_code_snippet]
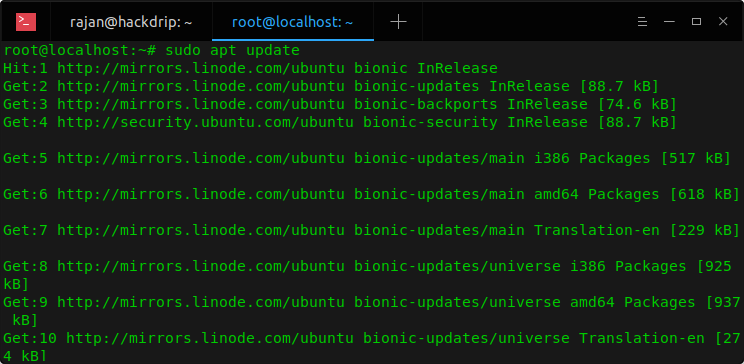 To install 7zip on your Ubuntu server or Desktop, open terminal (Ctrl + T) and enter the following command.
sudo apt install p7zip-full p7zip-rar
[/dm_code_snippet]
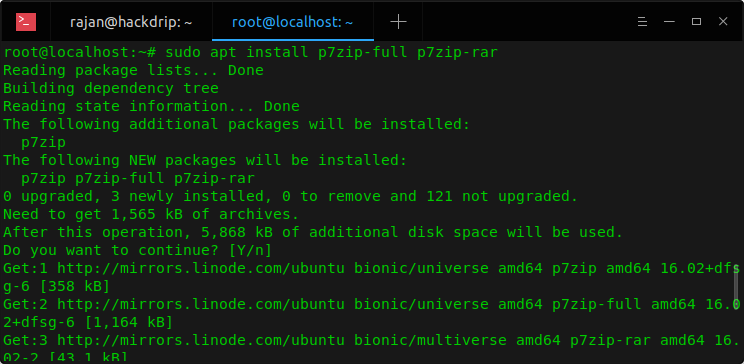 After executing this in your Terminal, p7zip will get installed as CLI utility 7z. The syntax of 7z is given below.
7z <command> [<switch>...] <base_archive_name> [<arguments>...] [<@listfiles...>]
[/dm_code_snippet]
The commands and switches you can use with 7zip are provided below with their meaning.
7Zip Commands
- a: Add files to archive
- b: Benchmark
- d: Delete files from archive
- e: Extract files from archive (without using directory names)
- l: List contents of the archive
- t: Test integrity of the archive
- u: Update files to archive
- x: Extract files with full paths
7Zip Switches
- -ai[r[-|0]]{@listfile|!wildcard}: Include archives
- -ax[r[-|0]]{@listfile|!wildcard}: Exclude archives
- -bd: Disable percentage indicator
- -i[r[-|0]]{@listfile|!wildcard}: Include filenames
- -m{Parameters}: Set compression method
- -o{Directory}: Set output directory
- -p{Password}: Set password
- -r[-|0]: Recurse subdirectories
- -scs{UTF-8 | WIN | DOS}: Set charset for list files
- -sfx[{name}]: Create SFX archive
- -si[{name}]: Read data from stdin
- -slt: Show technical information for l (List) command
- -so: Write data to stdout
- -ssc[-]: Set sensitive case mode
- -t{Type}: Set type of archive
- -u[-][p#][q#][r#][x#][y#][z#][!newArchiveName]: Update options
- -v{Size}[b|k|m|g]: Create volumes
- -w[{path}]: Assign work directory. Empty path means a temporary directory
- -x[r[-|0]]{@listfile|!wildcard}: Exclude filenames
- -y: Assume “Yes” on all queries
- -an: Disable parsing of archive_name
How to Use 7Zip on Ubuntu?
Now you know the syntax of 7Zip on Ubuntu, you can move on to compressing and extracting files.
1. Compressing Files Using Terminal
Here are the steps which you need to follow in order to compress files using 7-zip on your Ubuntu machine:
First of all, you need to select the file or folder to make a compressed file. To do so, just use the ls -la command to show the list of all files and folders of the current directory. For instance, we would be compressing the data.txt file which is of size 50 kb at the moment.
$ ls -la
[/dm_code_snippet]
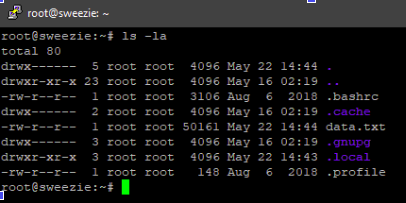 Now, to compress any file or folder, like in this case data.txt, you need to enter the following command:
$ 7z a data.7z data.txt
[/dm_code_snippet]
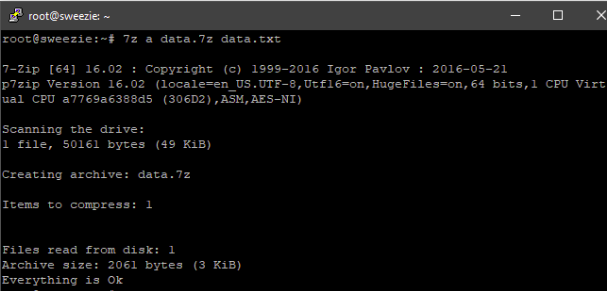 Here, the option ‘a’ is for archive or compression. The data.7z is the filename of the compressed file. The data.txt is the file to be compressed. After compression, the size of the compressed file has come to around 3 kb. That’s more than 90% saving in the system space.
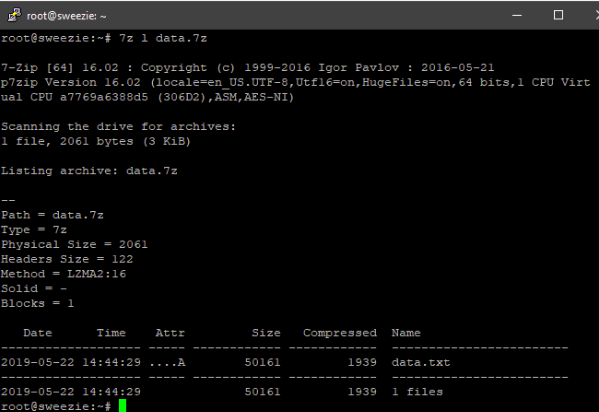
You can also get detailed information about the compression using the ‘l’ option:
$ 7z l data.7z
[/dm_code_snippet]
 2. Compressing Files Using File Explorer
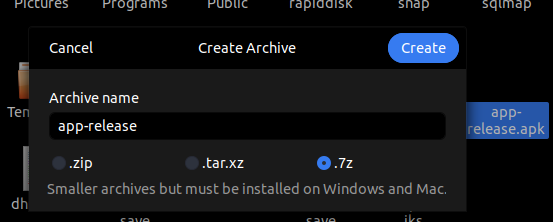
If you have Ubuntu Desktop, you can use 7Zip from File Explorer to compress and extract files. First, go to the File Explorer or File Manager on your Linux system. Select the file or folder you want to compress and right-click on it. Select the Compress option from the context menu. Choose the extension for the compressed file and enter the filename. That’s it!
 3. Extracting 7Z Files Using Terminal
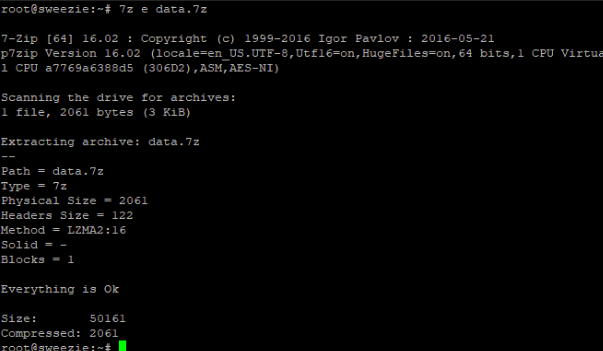
To extract any compressed file like data.7z, use the following command:
$ 7z e data.7z
[/dm_code_snippet]
 4. Extracting 7Z Files Using File Explorer
Go to the File Explorer or File Manager on your Linux system. Select the compressed file you want to extract, right-click, and choose the Extract option from the context menu. Select the extraction location and click Extract. That’s it!
Conclusion
7Zip is a very popular software to compress files and save system space. We learned how to install 7Zip on Ubuntu using the command line, and how to compress and extract files using both the command line and File Explorer.


